|
<< Click to Display Table of Contents >> Portal Settings - Themes |
  
|
|
<< Click to Display Table of Contents >> Portal Settings - Themes |
|
Themes control the look and feel of Advanced Emailer's landing pages, emails, forms and message screens. A basic Advanced Emailer installation will come pre-packaged with a number of themes which can be used 'out of the box' or adapted to suit specific projects.
Theme Manager
The Theme Manager allows users to be accessed via the Admin Menu (click the cog icon in the top right corner to open it), select the Theme menu item.
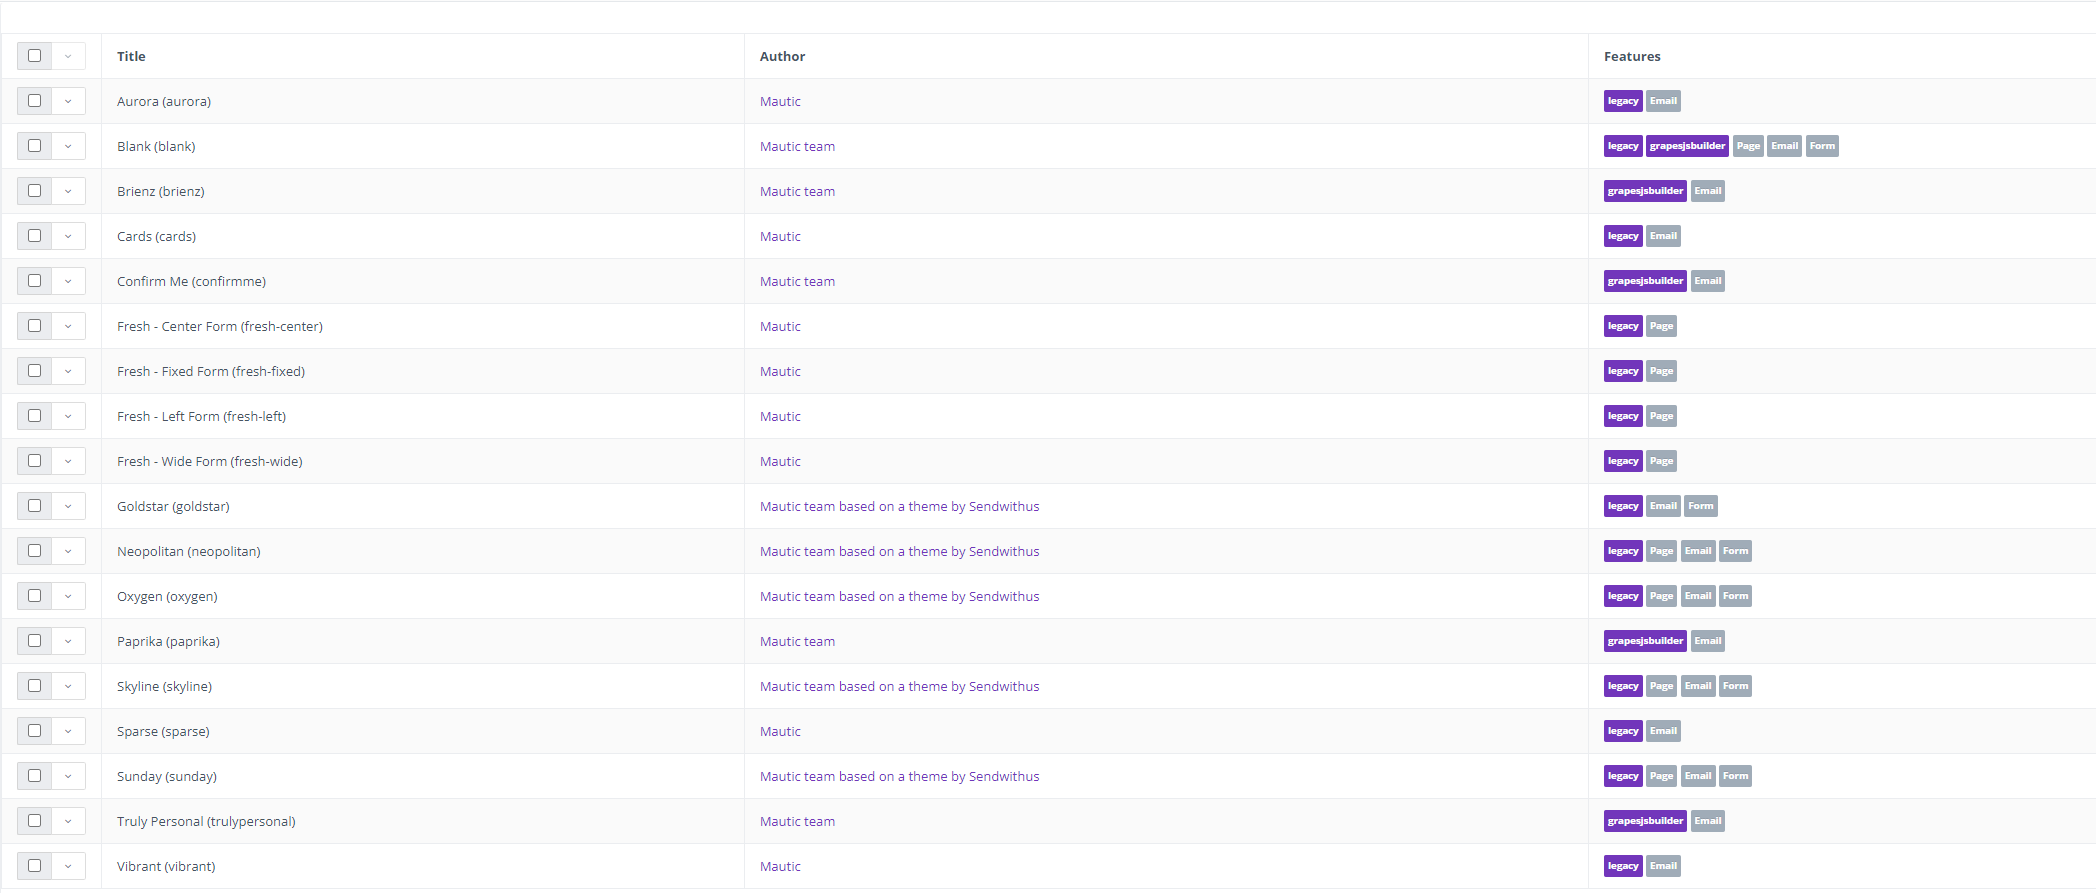
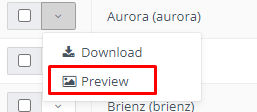
The table of installed themes shows the theme's name, the author's name and the link to it's website (if provided) along with the features that the theme provides. There is also preview (if provided) to see the screenshot of the theme under the arrow next to the theme name.
Install New theme
A new theme can be installed as a zip package. The zip package must have the same structure as the themes pre-installed in Advanced Emailer. There must be the config.json file present in the root folder of the zip package. More on that can be found in the developer documentation.
If Users possess the theme's zip package either created by Users or downloaded from a theme-provider, the upload location is located in the top right corner of the Themes page.
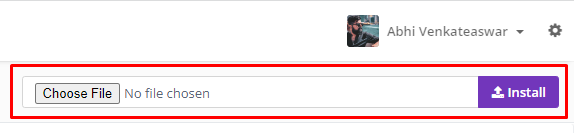
Click the "Choose File" button to choose the zip file, then click Install. A notification will appear if the installation was successful and if so, the new theme appears in the table of currently installed themes.
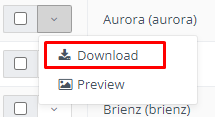
Download an Existing Theme
If Users want to create a theme, the simplest way is to download an existing theme and modify the same. The download option is in the drop down menu next to every theme in the Theme Manager table.
Update an Old Theme
The old theme files will be overwritten by the new ones when installing a theme that already exists within Advanced Emailer. Therefore, the theme updates can be also done by the Theme Manager's Install form.
The pre-installed themes cannot be overwritten because the changes would return again after a Advanced Emailer update.
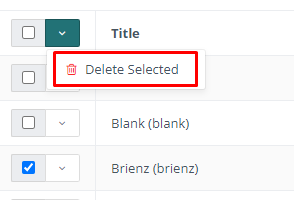
Delete a Theme
Go to the Theme Manager, check the theme(s) to be deleted and click the red button above the theme table to delete them.
The pre-installed themes cannot be deleted because they would appear again after an Advanced Emailer update.
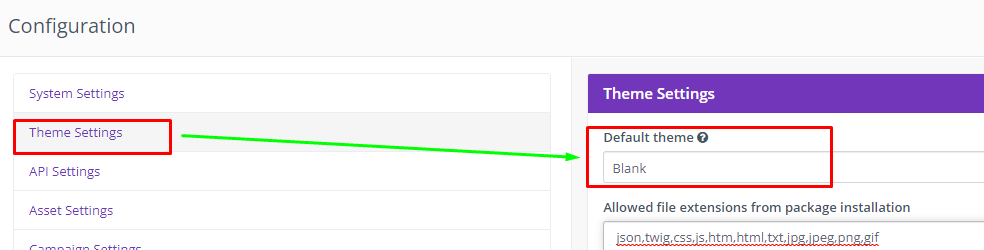
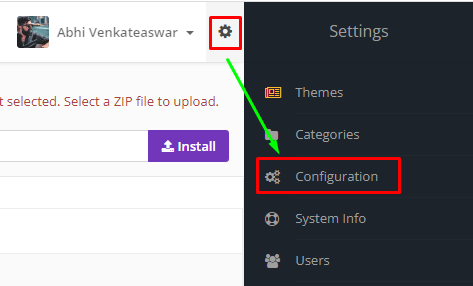
Assigning a Default Theme
It is possible to assign a default theme to a Advanced Emailer instance by editing the global configuration. To access the global configuration you must be logged in with sufficient access. Click on the cog icon beside the logged in user, and select 'Configuration'.
From the configuration screen, the available themes will be listed in a dropdown box, which can be selected. On saving, this setting will apply for all resources which do not have a theme explicitly specified.